
How to create a Vue.js contact form (with validation)
Build a Vue.js contact form with no backend. Copy-paste examples for a plain form, a Vue 3 script-setup submission, two-way binding with v-model, and validation with VeeValidate and Zod.
Vue.js is a popular framework for building web user interfaces.
This guide shows you how to add a Vue.js contact form that collects submissions and
emails you on every new one — without writing or hosting any backend code. We’ll start with
a plain form, enhance it with Vue 3’s Composition API to submit in the background, then show
two-way binding with v-model and validation with VeeValidate and Zod.
Create your form endpoint in FormBackend
Go create a login and create a new form endpoint in FormBackend. Give it a name you can remember for example: “Vue Contact Form” or something similar for this tutorial. It can always be changed later and is only used for you to remember your form.
Create a new Vue.js app
We’ll start from scratch by creating a new Vue.js app. If you already have one you can skip to the next step. We’re basically following what the Vue.js quickstart guide does.
Go ahead and run the following in your terminal
npm create vue@latest
This will run create-vue which will ask you some questions about how you want to setup your application. It doesn’t really have any impact on how we’re going to do things with FormBackend so pick
whatever you’re the most comfortable with.
Go to the new directory of your app, ours is called formbackend-vuejs
cd formbackend-vuejs
Let’s install the dependencies
npm install
and start the local development web server
npm run dev
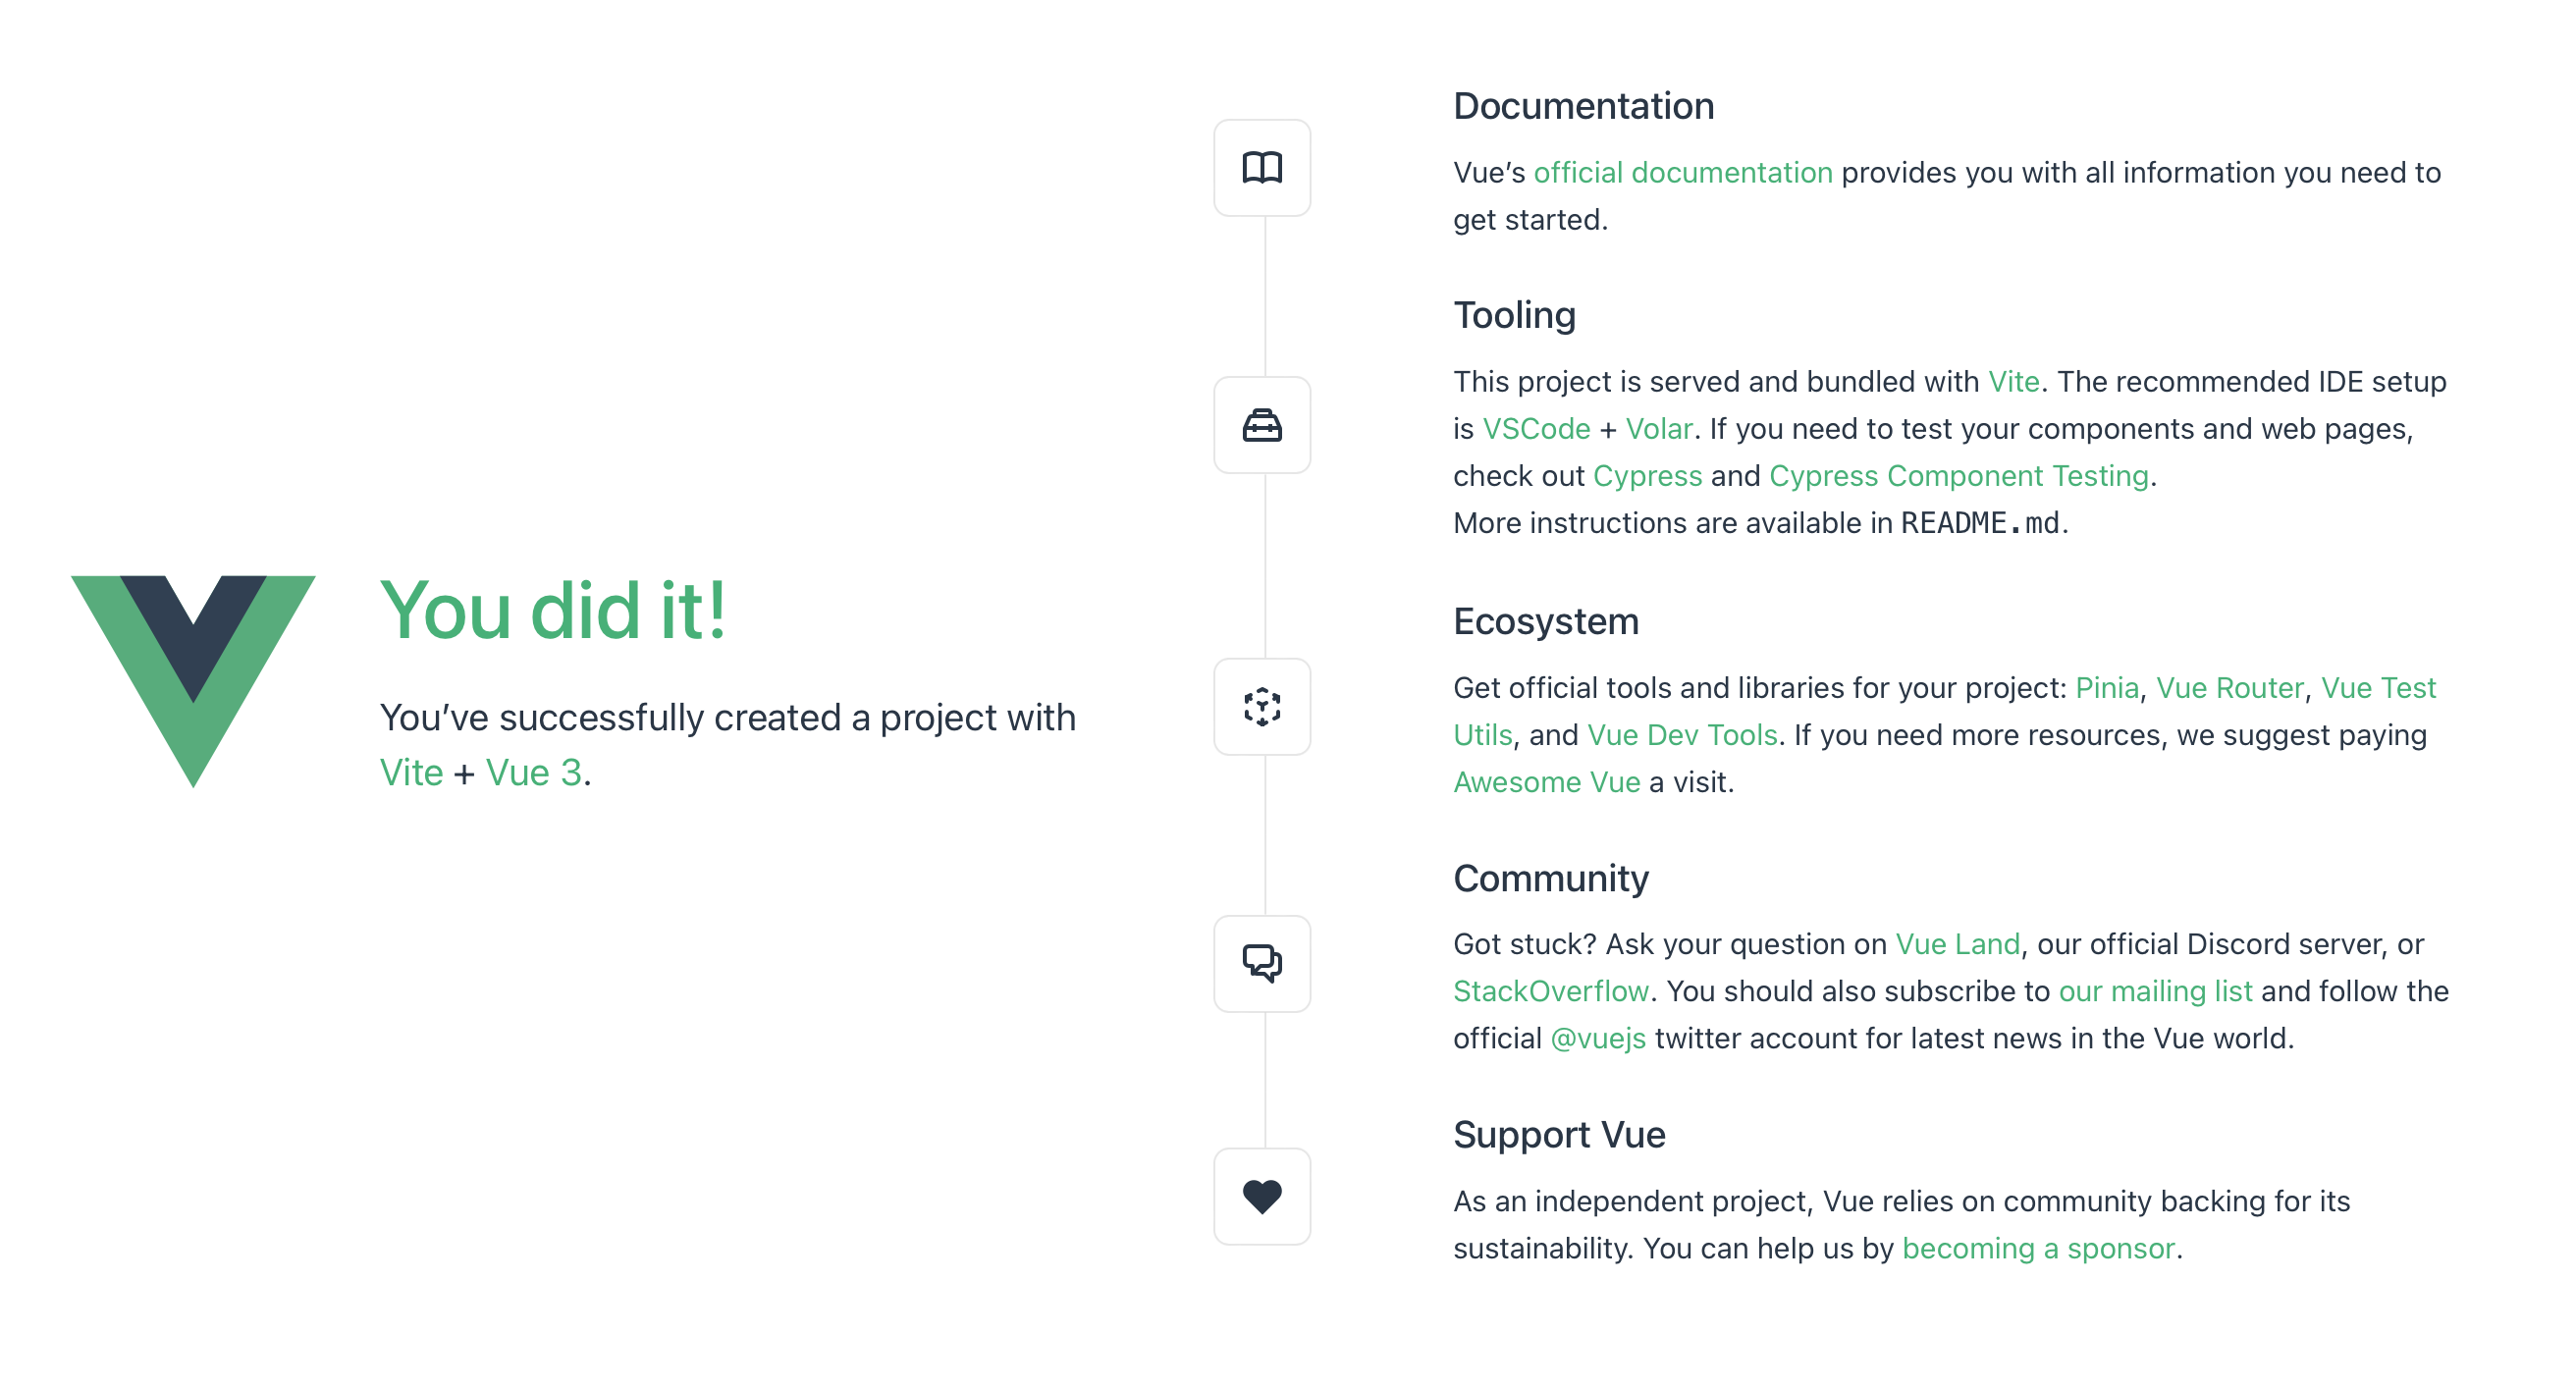
If you visit the URL it prints (http://localhost:5173) you should see the following:
Create a contact form endpoint in FormBackend
Log in to your FormBackend account and visit the forms index page. Go ahead and create a new form and give it a name you can remember it by.
After your form has been created, you’ll see the “Submissions” page which is where new submissions will appear. If you navigate to the “Set up” page you can see the unique URL for your form. We’ll copy that!
Add the contact form to your Vue.js app
Now that we have the form endpoint in FormBackend, we can add the form to your Vue.js app. Open up src/App.vue and replace everything with:
We’ll add the following code to it:
<template>
  <main>
    <h1>Contact Form</h1>
    <form action="https://www.formbackend.com/f/{your-identifier}" method="POST">
      <div class="form-fields">
        <label for="name">Name</label>
        <input type="text" id="name" name="name" required>
      </div>

      <div class="form-fields">
        <label for="email">Email</label>
        <input type="email" id="email" name="email" required>
      </div>

      <div class="form-fields">
        <label for="message">Message</label>
        <textarea id="message" name="message" required></textarea>
      </div>

      <button type="submit">Send message</button>
    </form>
  </main>
</template>

<style scoped>
  h1 {
    font-size: 1.8rem;
    font-weight: bold;
    margin-bottom: 1rem;
  }
  .form-fields {
    margin-bottom: 1rem;
  }
  label {
    display: block;
    margin-bottom: 4px;
    font-weight: bold;
    font-size: 0.9rem;
  }
  input[type="text"], input[type="email"], textarea {
    border: 1px solid #ccc;
    font-size: 1rem;
    padding: 6px 10px;
    border-radius: 4px;
  }
  button[type="submit"] {
    background-color: rgb(67 56 202);
    color: white;
    font-size: 0.8rem;
    border: none;
    border-radius: 4px;
    padding: 8px 12px;
    font-weight: 500;
  }
</style>
Notice the action-attribute on the form itself, you need to paste in the unique URL for your form that you copied in the previous step and paste that in here.
This form only has three fields. But you can add as many or as few as you want. As long as they have a unique name attribute which is how we store them in our database and how you can recognize the fields
when you view a submission.
If you visit http://localhost:5173 in your browser you should see your form:
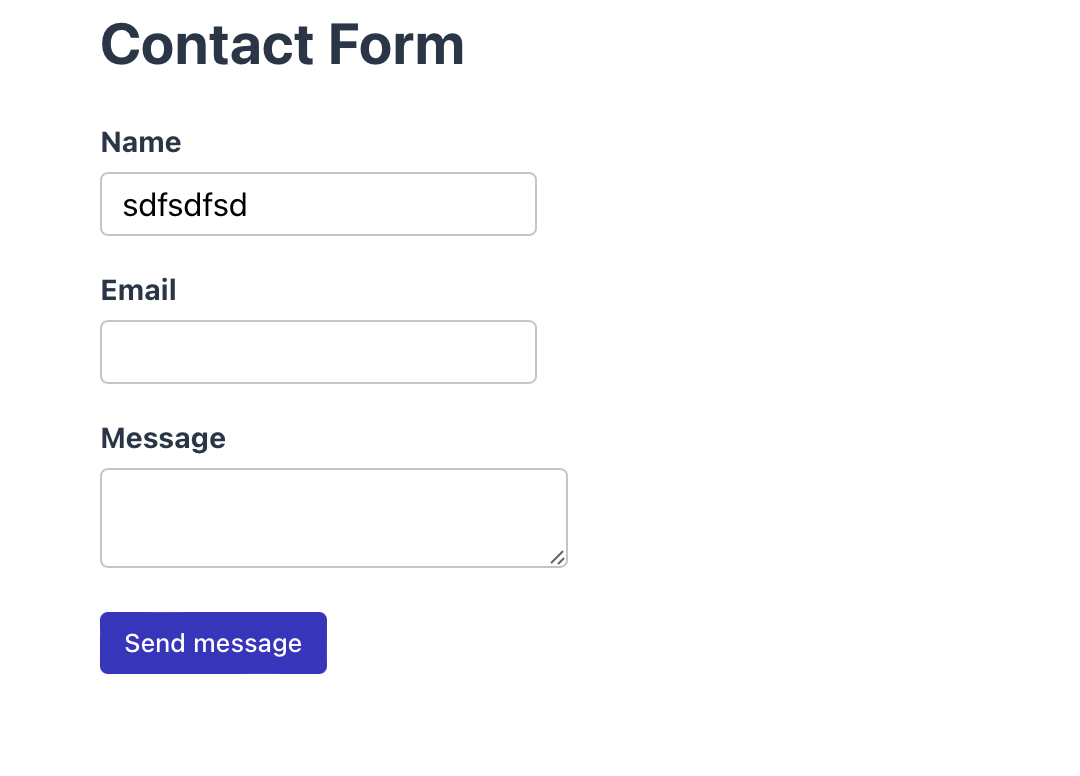
After filling it out and hitting the submit button, you’ll be taken to FormBackend’s submission success page. If you navigate to the Submissions tab for the form you created in FormBackend earlier you should see the submission you just added.
Submitting without a page refresh
The form above works on its own, but it redirects to a thank-you page on submit. To keep
users on the page and show an inline confirmation, submit it in the background with Vue 3’s
Composition API. Replace src/App.vue with:
<script setup>
import { ref } from 'vue'

const status = ref('idle')

async function handleSubmit(event) {
  status.value = 'submitting'

  const form = event.target
  const response = await fetch(form.action, {
    method: 'POST',
    body: new FormData(form),
    headers: { accept: 'application/json' },
  })

  if (response.ok) {
    form.reset()
    status.value = 'success'
  } else {
    status.value = 'error'
  }
}
</script>

<template>
  <main>
    <h1>Contact Form</h1>
    <p v-if="status === 'success'">Thanks! Your message has been sent.</p>
    <form
      v-else
      action="https://www.formbackend.com/f/{your-identifier}"
      method="POST"
      @submit.prevent="handleSubmit"
    >
      <div class="form-fields">
        <label for="name">Name</label>
        <input type="text" id="name" name="name" required>
      </div>

      <div class="form-fields">
        <label for="email">Email</label>
        <input type="email" id="email" name="email" required>
      </div>

      <div class="form-fields">
        <label for="message">Message</label>
        <textarea id="message" name="message" required></textarea>
      </div>

      <button type="submit" :disabled="status === 'submitting'">
        {{ status === 'submitting' ? 'Sending…' : 'Send message' }}
      </button>
      <p v-if="status === 'error'">Something went wrong — please try again.</p>
    </form>
  </main>
</template>
How it works:
- The
@submit.preventmodifier stops the browser’s default full-page submission, so you don’t need to callevent.preventDefault()yourself. - The browser’s built-in
FormDatareads every field from the form, so you don’t need arefper input. - The
accept: application/jsonheader tells FormBackend to return JSON instead of an HTML page. - The
statusref drives the UI withv-if/v-else— the form is swapped for a thank-you message once the submission succeeds.
Two-way binding with v-model
The uncontrolled FormData approach above is perfect when you just need to forward the fields
as-is. But the moment you want to read values in JavaScript — for conditional fields, a
multi-step flow, or validation — you’ll want Vue’s signature feature: two-way binding with
v-model. Bind each input to a reactive object and Vue keeps the two in sync:
<script setup>
import { reactive, ref } from 'vue'

const form = reactive({ name: '', email: '', message: '' })
const status = ref('idle')

async function handleSubmit() {
  status.value = 'submitting'

  const body = new FormData()
  Object.entries(form).forEach(([key, value]) => body.append(key, value))

  const response = await fetch('https://www.formbackend.com/f/{your-identifier}', {
    method: 'POST',
    body,
    headers: { accept: 'application/json' },
  })

  status.value = response.ok ? 'success' : 'error'
}
</script>

<template>
  <main>
    <h1>Contact Form</h1>
    <p v-if="status === 'success'" role="status">Thanks! Your message has been sent.</p>
    <form v-else @submit.prevent="handleSubmit">
      <div class="form-fields">
        <label for="name">Name</label>
        <input id="name" name="name" type="text" v-model="form.name" required>
      </div>

      <div class="form-fields">
        <label for="email">Email</label>
        <input id="email" name="email" type="email" v-model="form.email" required>
      </div>

      <div class="form-fields">
        <label for="message">Message</label>
        <textarea id="message" name="message" v-model="form.message" required></textarea>
      </div>

      <button type="submit" :disabled="status === 'submitting'">
        {{ status === 'submitting' ? 'Sending…' : 'Send message' }}
      </button>
      <p v-if="status === 'error'" role="alert">Something went wrong — please try again.</p>
    </form>
  </main>
</template>
Now form always holds the current values, so you can inspect or transform them before posting.
Add validation with VeeValidate and Zod
For real validation with messages under each field, the idiomatic Vue choice is VeeValidate with a Zod schema. Install the packages:
npm install vee-validate zod @vee-validate/zod
useForm runs the schema, defineField wires each input, and errors holds the messages:
<script setup>
import { ref } from 'vue'
import { useForm } from 'vee-validate'
import { toTypedSchema } from '@vee-validate/zod'
import * as z from 'zod'

const status = ref('idle')

const validationSchema = toTypedSchema(
  z.object({
    name: z.string().min(1, 'Please enter your name'),
    email: z.string().email('Please enter a valid email'),
    message: z.string().min(1, 'Please enter a message'),
  })
)

const { handleSubmit, errors, defineField, isSubmitting } = useForm({ validationSchema })

const [name, nameAttrs] = defineField('name')
const [email, emailAttrs] = defineField('email')
const [message, messageAttrs] = defineField('message')

const onSubmit = handleSubmit(async (values) => {
  const body = new FormData()
  Object.entries(values).forEach(([key, value]) => body.append(key, value))

  await fetch('https://www.formbackend.com/f/{your-identifier}', {
    method: 'POST',
    body,
    headers: { accept: 'application/json' },
  })

  status.value = 'success'
})
</script>

<template>
  <main>
    <h1>Contact Form</h1>
    <p v-if="status === 'success'" role="status">Thanks! Your message has been sent.</p>
    <form v-else @submit="onSubmit" novalidate>
      <div class="form-fields">
        <label for="name">Name</label>
        <input id="name" type="text" v-model="name" v-bind="nameAttrs"
          :aria-describedby="errors.name ? 'name-error' : undefined">
        <p v-if="errors.name" id="name-error" role="alert">{{ errors.name }}</p>
      </div>

      <div class="form-fields">
        <label for="email">Email</label>
        <input id="email" type="email" v-model="email" v-bind="emailAttrs"
          :aria-describedby="errors.email ? 'email-error' : undefined">
        <p v-if="errors.email" id="email-error" role="alert">{{ errors.email }}</p>
      </div>

      <div class="form-fields">
        <label for="message">Message</label>
        <textarea id="message" v-model="message" v-bind="messageAttrs"
          :aria-describedby="errors.message ? 'message-error' : undefined"></textarea>
        <p v-if="errors.message" id="message-error" role="alert">{{ errors.message }}</p>
      </div>

      <button type="submit" :disabled="isSubmitting">
        {{ isSubmitting ? 'Sending…' : 'Send message' }}
      </button>
    </form>
  </main>
</template>
VeeValidate’s handleSubmit calls preventDefault for you and only runs your callback when the
schema passes — so @submit="onSubmit" needs no .prevent. Errors are tied to each input with
aria-describedby and role="alert" for screen readers. As always, FormBackend validates on
its end too, so this is UX, not your only line of defense.
Notifications and integrations
With your Vue.js form collecting submissions, you can:
- Get email notifications: Receive an email with submission data (including file attachments) every time someone submits
- Send auto-reply emails: Let submitters know you received their message with a customizable email template
- Filter spam: Submissions are spam-checked automatically. Add Cloudflare Turnstile or hCaptcha for stronger protection
- Connect integrations: Route submissions to Slack, Google Sheets, Notion, Discord, or any URL via webhooks
- Customize the thank-you page or redirect users to a specific page on your site
Guides for other frameworks: Nuxt, React, Next.js, Svelte, Astro, and more.
Frequently asked questions
Do I need a backend for a Vue.js contact form?
No. With FormBackend your Vue form posts directly to a hosted endpoint, so there's no server or API to build. FormBackend stores each submission and emails you when one arrives.
How do I submit a Vue form without reloading the page?
Use Vue's @submit.prevent modifier to stop the default submission, then send the form's data with fetch using the browser's FormData. Set the accept header to application/json so FormBackend returns JSON. A full Vue 3 script-setup example is shown above.
How do I show a success message after submitting in Vue?
Track a status ref (idle, submitting, success, error) and toggle the UI with v-if. Show the form while idle and a confirmation message once the request succeeds.
Does this work with the Composition API and script setup?
Yes. The example uses Vue 3 with <script setup> and the Composition API, which is the current recommended style. The same pattern works with the Options API if you prefer.
Does this work with Nuxt?
Yes. The form markup is the same in a Nuxt app. See the dedicated Nuxt form guide for Nuxt-specific details like server routes.
How do I use v-model in a Vue form?
Bind each input to a reactive form object with v-model — for example v-model="form.email". Vue keeps the object and the inputs in sync, so on submit you can read every value from form and send it to FormBackend. A complete v-model example is shown above.
How do I validate a Vue.js form?
Use VeeValidate with a Zod schema via toTypedSchema. Define your rules once, bind each field with defineField, and VeeValidate exposes an errors object you can show under each input. A full example is shown above. FormBackend also validates on its end, so client-side checks are for UX only.
How do I add spam protection to a Vue form?
FormBackend filters spam automatically. For more protection add Cloudflare Turnstile, hCaptcha, or reCAPTCHA, or include a hidden honeypot field. See the spam filtering guides.
Keep reading
How to add a form to your Gatsby site
Add a contact form to your Gatsby site with no backend. A complete React example that submits with fetch, shows an inline success message, and reports errors accessibly.
How to create a form in Astro (with Astro Actions)
Add a contact form to your Astro site with no backend. Copy-paste examples for a plain HTML form, a JavaScript submission with an inline thank-you, and the modern Astro Actions approach with server-side Zod validation.
How to create a React form (with validation)
Build a React contact form with no backend. Copy-paste examples for a plain HTML form, a fetch submission with success and error states, validation with React Hook Form and Zod, and the React 19 form action with useActionState.
Add a form backend to your site in minutes
Connect any HTML form to FormBackend and start collecting submissions — no backend code required.
Start free